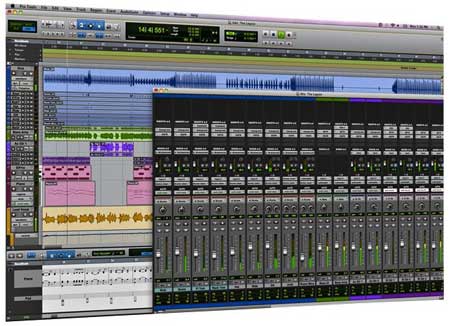
 I receive a multitude of mixes each month where the song sounds like a wall of instruments, unable to detect where some instruments begin and others end. A muddy labyrinth of sonic confusion if you will. Sure it’s sounds thick and full but it has no clarity and a complete lack of “space” within the mix and around the instruments within. That is what this post is addresses – creating space in a mix without compromising a full, balanced sound.
The general idea here is to “trim the unwanted fat” from each and every instrument that doesn’t absolutely need it. And yes, discount it sounds easier than it is! Trimming, or EQ’ing an instrument properly isn’t as simple as following a mixing road-map because each song is it’s own entity. The trick is to decide which instruments to manipulate and how much to trim. I have developed a simple 3 step process which may help you on your way.
1. Lets start with the acoustic guitar (or a similar instrument in that sonic range which may have both high and low response such as an acoustic guitar). Go to a point in the song where just the acoustic is playing, if that isn’t possible just solo the acoustic. Listen. Does it have a balanced low, mid and high? There is no rule here, the idea is to just get the guitar to sound as good as possible by itself. I start with an EQ. Often I will roll off anything below 40hz. I might tweak the high end up a bit because I favor the percussive sound of the pick hitting the strings. I will then add a slight bit of compression. I don’t want more than 1 or 2 db of slow reduction, typically. I then finish with a nice room reverb.
2. Second, add the bass guitar (or bass instrument). What do you hear? Is the low end of the acoustic in the same frequency as the bass? In most cases, yes! Instruments that you think sit completely in the high frequency range will have a generous helping of low end that will interfere with your bass instrument(s). Don’t be afraid to trim the low end of the acoustic guitar when the bass guitar is playing simultaneously in the song. You won’t miss it!!! Keep your settings from the above paragraph when the bass is out but automate a low-end roll-off on the acoustic to make room for the bass. You will be surprised how much you can roll off when the bass is present and not notice a difference in the guitar sound. But you will notice how clean it gets. Just be careful, you want it clean but not too thin. Once you have these settings saved you should be able to apply them to each and every guitar track (or like instrument).
3. Next, move to the drums and percussion. Solo the kit and the bass guitar. Where is the majority of the kick drum or low drum frequency in relation to the bass guitar? Is it above it, below it, or right on top of it. So many times I hear the bass guitar and kick drum fighting each other for breathing room. The idea here is that there is plenty of frequency space below 130hz to find room for both instruments. Take a listen to the kick drum. Where is the sweet spot? 90hz? 120hz? Experiment with a 1-band EQ and find out where the drum sounds best as you boost different frequencies. Once you locate it, say 85hz, leave the EQ on it with a slight boost at that frequency. The solo the bass and experiment with rolling some of the 85hz out of it. It may be a really small band or “Q,” or it may be a roll off of 10db. There are no correct answers, just experimenting.
Now put the drums, acoustic and bass guitars together and see what you’ve got. You’ll be surprised at what a little equalization can accomplish. You may need to make a few adjustments here and there but you should be close. Now add in other instruments one at a time and listen for their “space” in the mix. You may need to fine tune their EQ as well.
Contact Andrew Mitchell with any questions and/or comments:
andy@audiobaymastering.com


Comments are closed.